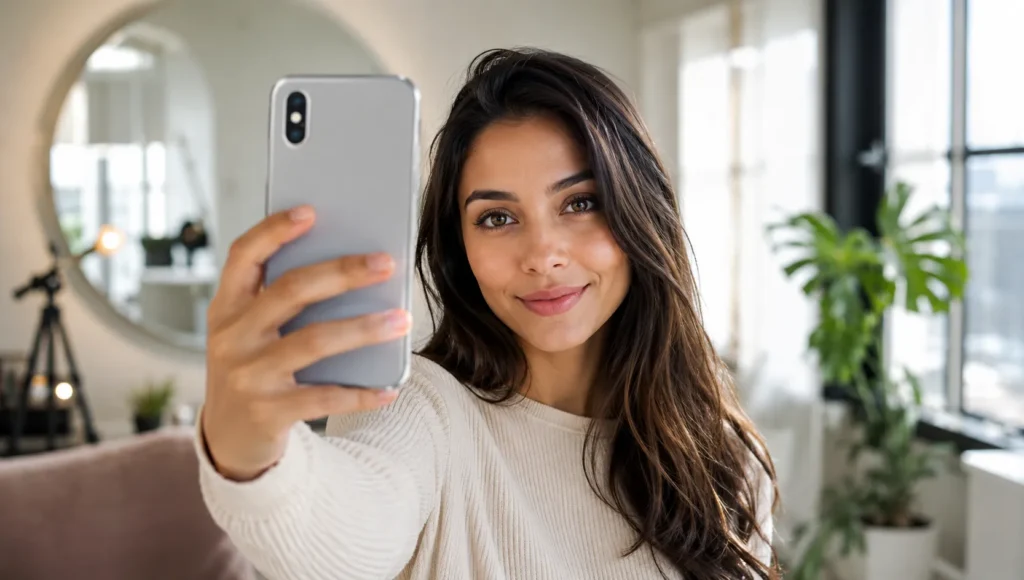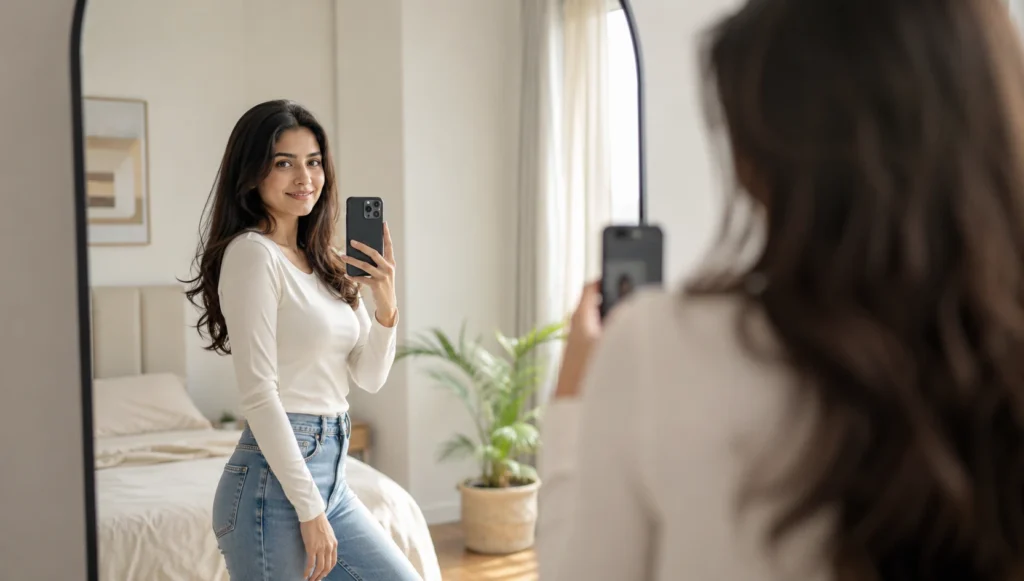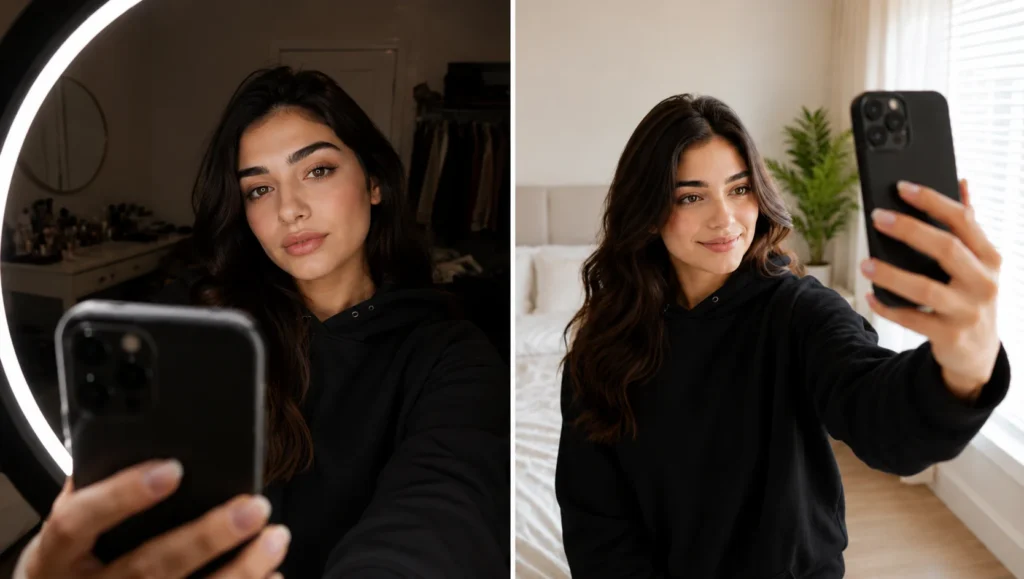
You can take a better selfie instantly by fixing your lighting, angle, and camera position. Most bad selfies happen because people ignore these simple basics. The good news? You don’t need a fancy camera or editing skills to look better in photos. Small changes can make a huge difference in how your face looks on camera. If your selfies look dull, awkward, or just “off,” it usually comes down to lighting, angles, or posture not your face.
Here, you’ll learn simple selfie tips that actually work so you can take clear, natural, and confident photos every time.
Fix Your Lighting First to Take a Great Selfie
Use Natural Light for Clear Skin
Natural light is the easiest way to make your selfies pop. Stand facing a window or step outside during daylight hours. Soft, even light brightens your face, reduces shadows, and smooths out skin texture. Sunlight gives a natural glow that makes your selfies look clean and vibrant without editing. Using natural light also helps your eyes sparkle and your skin appear more even, making every shot Instagram-ready.
Avoid Harsh Overhead Lights
Overhead lights, like ceiling lamps, create unflattering shadows under your eyes, nose, and chin. This makes you look tired or older in selfies. If you’re indoors, switch off harsh lights and try side lighting or a desk lamp that points at your face. Even a soft lamp or ring light positioned slightly above eye level can give your selfies a more professional, clear look without making them look staged.
Don’t Stand With Light Behind You
Backlighting is a common selfie mistake that darkens your face. If a bright window or lamp is behind you, your camera will struggle to capture details, leaving your face in shadow. Always position the light in front of you or slightly to the side. This ensures your face is the main focus, your features are clear, and your selfies look crisp and vibrant every time. Even a simple adjustment of moving a few feet can make a huge difference in how natural your selfie looks.
Find Your Best Angle to Take the Perfect Selfie
Hold the Camera Slightly Above Eye Level
Holding your camera just above eye level instantly makes your face look sharper and more defined. This angle slims your jawline, lifts your eyes, and prevents that flat, straight-on look that can make selfies look dull. It’s a simple tweak that works for any face shape. Even a small tilt of a few inches can make your features pop and give your selfie a more professional, confident vibe without needing filters or editing.
Tilt Your Face a Little
Tilting your face slightly instead of facing the camera straight-on adds depth and dimension to your selfies. It highlights your cheekbones and jawline, making your face appear more dynamic and photogenic. A subtle tilt also reduces harsh shadows and prevents a flat, “lifeless” look. Experiment with slight angles until you find the most flattering one for your natural features. Small adjustments can create a huge difference.
Try Both Sides of Your Face
Most people have a “better side” that looks more flattering in photos. Try taking selfies from both angles to see which side highlights your features best. Switching sides can also help you find the angle that naturally enhances your jawline, cheekbones, and eyes. Knowing your best side saves time, boosts confidence, and ensures that every selfie looks intentional rather than awkward.
Use the Right Camera Settings to Take Selfie
Use the Back Camera for Better Quality Selfie
Using your phone’s back camera instead of the front selfie camera can make a huge difference in quality. The back camera usually has higher resolution, sharper focus, and better color accuracy, which makes your selfies look clearer and more professional. Even if it’s a bit trickier to frame, the extra quality is worth it especially for social media or posting online. For best results, pair it with good lighting and a steady hand or tripod.
Turn On Grid Lines
Grid lines are a simple but powerful tool to improve your selfie composition. They help you keep your face centered, maintain symmetry, and align your eyes with the top or middle grid lines for a balanced shot. Using grids makes your photos look more intentional and visually appealing without any editing. Once you get used to the grid, framing your selfies will feel automatic, giving consistently better results.
Clean Your Lens Before Shooting Your Selfie
A dirty camera lens can ruin even a perfect selfie by creating blurry or hazy photos. Wipe your lens gently with a microfiber cloth before taking a shot. Fingerprints, dust, or smudges reduce sharpness and make skin tone look dull. Keeping your lens clean ensures your selfies are crisp, clear, and ready for posting without extra editing or filters. It’s a small step that produces big improvements.
Relax Your Face (Look Natural, Not Forced)
Don’t Force a Smile
A stiff or forced smile looks unnatural in selfies. Keep your lips soft and relaxed for a more genuine, flattering expression. A slight, natural smile instantly makes your photo look better.
Think of Something Real
Thinking of a happy memory or funny moment helps your face relax. This makes your eyes sparkle and your expression look authentic. Natural emotions always make selfies more appealing.
Keep Your Background Clean and Simple
Avoid Messy or Busy Backgrounds
Cluttered backgrounds steal attention from your face and make selfies look chaotic. Keep it simple so your face stays the focus. A clean backdrop instantly makes your selfie look sharper and more professional.
Use Plain or Aesthetic Backgrounds
Plain walls, sky, or minimal setups work best for selfies. For themed or unique backgrounds, check out The Selfie Showroom. They have amazing setups designed to make your selfies pop effortlessly. A simple or creative backdrop adds style without distracting you.
Quick Checklist to Take a Good Selfie
- Good lighting: face well-lit, natural glow
- Camera angle set: slightly above eye level
- Lens clean: no smudges or blur
- Relaxed face: natural, soft expression
- Clean background: simple or themed like Selfie Showroom
Final Tip for a Good Selfie
Take multiple shots from slightly different angles, lighting, and expressions, then pick the one that highlights your best features. Even small adjustments like tilting your head, softening your smile, or shifting the light can completely transform a selfie. Experimenting with tiny changes ensures your photo looks natural, confident, and ready to share, giving you a polished result every time.