Selfie Tips: How to Take Better Selfies With Any Phone

You do not need a new phone or a ring light to take a good selfie. Most of the difference comes from small things: where the light hits your face, how you hold the phone, and what is behind you.

This page gives you practical selfie tips you can use right now. You will learn how to take better selfies with simple changes to lighting, angles, background, expression, and framing. Try one tip at a time and see what changes in your photos.

Quick Tips for Taking Better Selfies

If you only have a minute, start here. These six things affect your selfies the most:

Light

Face a window or stand in soft daylight.

Camera angle

Hold the phone a little above eye level.

Phone position

Keep your arm slightly bent and the phone steady.

Background

Pick a simple wall or a clean corner.

Expression

Relax your face before you tap the button.

Composition

Leave space around your head and keep your face in the main part of the frame.

Each one is explained below, with simple steps you can follow.

Find the Right Lighting for Your Selfie

Lighting is the first thing to fix. Good light can make an average photo look great. Bad light can ruin a perfect pose.

These selfie lighting tips work for most people:

Use natural light. Soft daylight is the best lighting for selfies. Face a window and let the light fall on your face. If you wonder how to use natural light for selfies, this is the easiest way.

Use window light the smart way. Stand about an arm’s length from the window. Turn your face slightly toward it. If one side looks too dark, move closer to the glass or face it more directly.

Be careful with harsh sunlight. Midday sun creates strong shadows under your eyes and nose. Step into open shade, or stand near a building so the light feels softer. Early morning and late afternoon are usually kinder.

Do not stand with the light behind you. If the window or sun is behind your head, your face will look dark. Turn around so the light is in front of you.

Handle indoor lighting with care. Overhead lights can cast shadows on your face. A lamp placed in front of you or slightly to the side often works better. Warm bulbs can add a yellow tint, so check the photo before you post it.

Low light needs steadiness. Find the brightest spot in the room. Hold the phone very still, or rest it on something. Avoid zooming in, since it makes dark photos look worse.

Choose the Right Camera Angle

Camera angle changes how your face, jaw, and eyes look in a photo. Small moves make a big difference.

Start slightly above eye level.

This is the angle most people like. It keeps your eyes open and avoids heavy shadows under your chin.

Avoid extreme low angles.

Shooting from below your chin can make your face look wider. It also shows the underside of your nose.

Find your better side.

Most faces look a little different from each side. Take a few photos from the left, then from the right, and compare.

Move the phone, not your face.

Stretching your neck or twisting your chin can look forced. Change the phone position instead.

Test and compare.

The best angle for selfies depends on your face. Try high, level, and slightly turned angles, then save the ones you like.


Once you know your best camera position for selfies, repeat it. It saves time and gives you steady results.

Hold Your Phone the Right Way

Knowing how to hold your phone for a selfie is half the job. A shaky or badly placed phone can spoil a good moment.
Mind the distance. Holding the phone too close makes your nose and forehead look bigger. Extend your arm a little, then crop later if needed.


Keep the height in check. Hold the phone slightly above your eyes and tilt the screen toward you.


Choose the camera that fits. The front camera is easy for framing. The rear camera usually gives sharper detail, so try it with the timer or a mirror.


Keep it steady. Tuck your elbow close to your body. Hold the phone with both hands if you can.


Use the timer. A 3 or 10 second timer lets you set the phone down and step back. It also works well for wider shots.

Find a Good Background

A strong background makes the photo feel finished. A messy one pulls attention away from you.

Start simple. A plain wall, a door, or a clean curtain is often the best background for selfies. It keeps the focus on your face.


Clear the clutter. Look behind you before you shoot. Remove cables, laundry, bags, and bright objects that distract the eye.


Use outdoor backgrounds with care. Trees, walls, and open sky look good, but poles and people can appear to grow out of your head. Shift a step to the side to fix it.


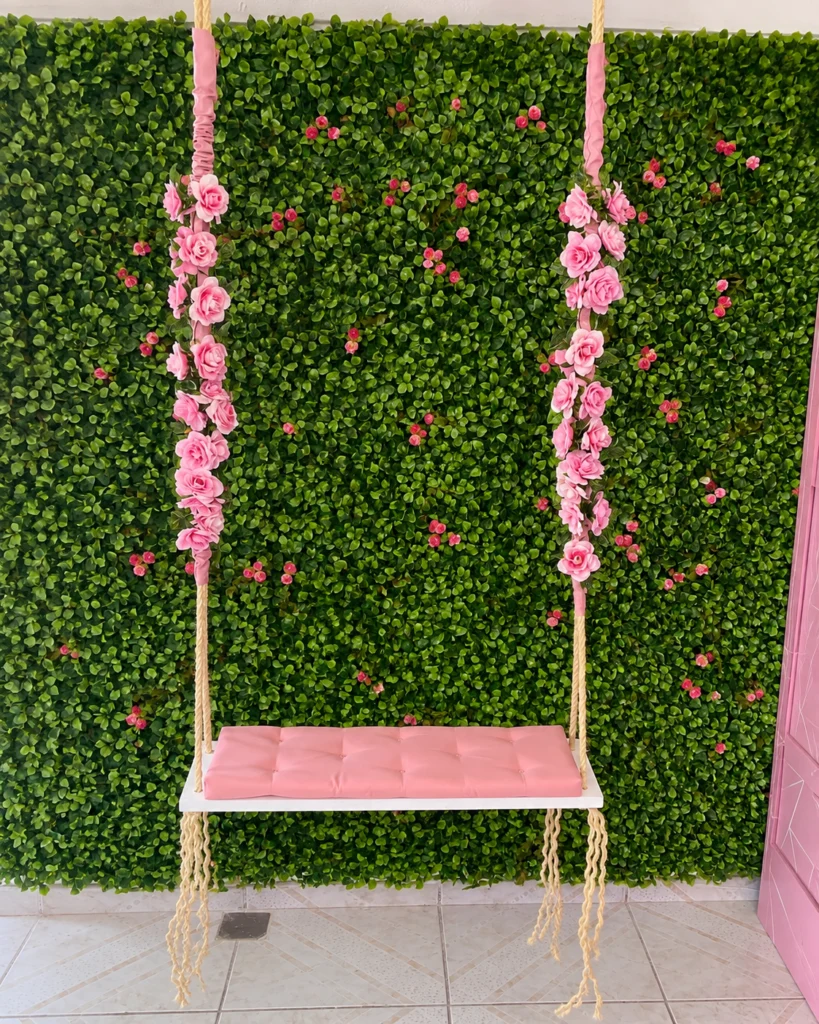
Match the background to the mood. A soft, plain wall suits a calm portrait. A colorful wall suits a fun photo. A street or cafe suits a casual story post.

Looking for selfie background ideas? Visit our selfie points guide for ways to find a good wall, corner, or setup near you.

Use Natural Facial Expressions

A forced smile is easy to spot. The goal is to look like yourself on a good day.
Relax first. Take a breath, drop your shoulders, and loosen your jaw before you shoot.


Keep the smile small. A natural smile starts with the eyes. Think of something funny, then smile.


Look away sometimes. Looking off to the side or down can feel more candid than staring into the lens.


Change small things. Lift your chin a little, soften your eyes, or tilt your head. Tiny changes help.


Skip forced looks. If an expression feels strange to make, it will look strange in the photo.

These facial expressions for selfies are simple, and they make natural selfie tips easier to follow. Take a few frames in a row and pick the one that feels most like you.

Try Different Selfie Poses

Pose is one part of a good selfie, not the whole thing. A few small adjustments can help.

Turn your head slightly. A small turn looks more relaxed than facing the camera straight on.

Change your face angle. Try a three-quarter view, where your face is turned a little away from the lens.

Sit or stand with good posture. Sit tall, or stand with your weight on one leg. It keeps your shoulders relaxed.

Keep casual poses casual. Tuck your hair, hold a drink, or look at something off camera. It adds a human touch.

Use these mirror selfie tips. Clean the mirror first. Hold the phone at chest or chin height. Keep your face in the light and cover the phone as little as possible.

If you want more ideas on how to pose for a selfie, see our selfie poses page.

Improve Your Selfie Composition

Composition is how you place things in the frame. It sounds technical, but a few simple habits cover most of it.

Use the rule of thirds.

Imagine the screen split into three equal columns and three rows. Place your eyes near the top line, or place yourself slightly off center.

Think about framing.

Use doors, windows, or branches to create a natural frame around you.

Leave headroom.

Keep a small gap above your head. Do not cut off the top of your hair.

Place yourself on purpose.

Centered shots feel direct. Off-center shots feel more relaxed.

Balance the background.

If something tall or bright sits on one side, shift so the photo does not feel heavy on that side.

Keep the focus on you.

Nothing in the background should be brighter or bolder than your face.

These selfie composition tips are easy to practice. Turn on the grid in your camera settings to help.

Check Your Camera Settings

Your phone has a few helpful tools. Settings differ by phone, so check what yours offers.

Resolution

Use your phone's highest photo quality for sharper pictures.

HDR

It can help when the light is uneven, such as a bright window behind you. Test it and compare.

Exposure and focus

Tap your face on the screen to set focus. Many phones also let you drag a small slider to make the photo brighter or darker.

Timer

Useful for wide shots and steady photos.

Portrait mode

It can blur the background, which works well when the background is busy.

Lens choice

If your phone has more than one rear lens, try them. A wider lens fits more in the frame, but it can stretch faces near the edges.

These selfie camera tips help most when you test them. Take one photo with a setting on and one with it off, then compare.

Avoid Common Selfie Mistakes

Many weak selfies share the same few problems. Check for these:

Poor lighting.

Move toward a window or into open shade before you shoot.

Dirty camera lens.

Fingerprints cause a hazy look. Wipe the lens with a soft cloth.

Busy backgrounds.

Check what is behind you first.

Holding the phone too close.

A little distance looks more natural.

Too many filters.

Heavy filters can change your skin tone and look fake.

Forced expressions.

Relax and take a few shots.

Poor framing.

Keep your head, chin, and hair inside the frame.

Blurry photos.

Here is how to avoid blurry selfies: wipe the lens, hold the phone with both hands, tap to focus, and wait a second before you press the button.

Use Simple Editing

A light edit can make a good selfie better. A heavy edit usually makes it worse.

Start with the basics. These simple selfie editing tips cover most needs:

Brightness and exposure

Raise them a little if the photo looks dark.

Contrast

A small increase adds depth. Too much looks harsh.

Cropping

Crop to fix framing, remove distractions, or follow the rule of thirds.

Color balance

Fix yellow or blue tints so your skin looks like skin.

Light retouching

Remove a temporary blemish if you want. Keep your skin texture and your features.

Go easy on filters. If people cannot tell it is you, the edit went too far. Aim to improve the photo, not to change your face.

Quick Selfie Checklist

Run through this list before you post:

✓

Clean the camera lens.

✓

Check the lighting on your face.

✓

Choose a simple background.

✓

Find a flattering angle.

✓

Relax your face and shoulders.

✓

Check the frame, including the edges.

✓

Take several photos.

✓

Pick the strongest one.

Related Selfie Resources

Keep exploring SelfiePoint.pro for more help:

Browse selfie ideas when you need a new concept to try.

→

Learn easy selfie poses for sitting, standing, and mirror shots.

→

Find selfie inspiration for your next photo.

→

Discover selfie points and good backgrounds for your photos.

→

Explore selfie spots for indoor and outdoor shots.

→

Selfie Tips FAQs

Start with light. Face a window or stand in soft shade. Then hold the phone slightly above eye level, check the background, and relax your face. Take several shots and choose the best one.

Soft natural light is the best. Window light and open shade work well. Avoid strong overhead sun and avoid standing with a bright light behind you.

For most people, it is a little above eye level with a slight head turn. Faces differ, so try a few angles and pick the one you like.

Use good light, a flattering angle, and a relaxed expression. Posture helps too. Sit or stand tall and keep your shoulders loose.

Hold it slightly above eye level, with your elbow close to your body. Use both hands if you can. Keep some distance so your face is not stretched.

Clean the lens, keep the phone steady, and tap the screen to focus. In low light, find a brighter place or rest your phone on a surface and use the timer.

A simple, clean background is best. Plain walls, doors, and soft outdoor scenes keep the attention on you.

A light filter is fine. Heavy filters can change your skin tone and make the photo look unnatural. Basic edits like brightness and cropping are usually enough.

Get new tips & selfie ideas straight to your inbox!

Newsletter Signup Form